

In many stone workshops, a familiar scenario keeps repeating: the same grinder, the same operator, and the same slab—yet tool life swings wildly from “runs all shift” to “glazed in 10 minutes.” In most cases, the root cause isn’t luck. It’s a mismatch between brazed diamond tool design, stone characteristics, and process parameters. This guide explains how brazed diamond tools work, how brazing and diamond grit distribution affect performance, and how to match tools to granite, marble, and typical shop applications—so your finish stabilizes, your throughput increases, and tool consumption becomes predictable.
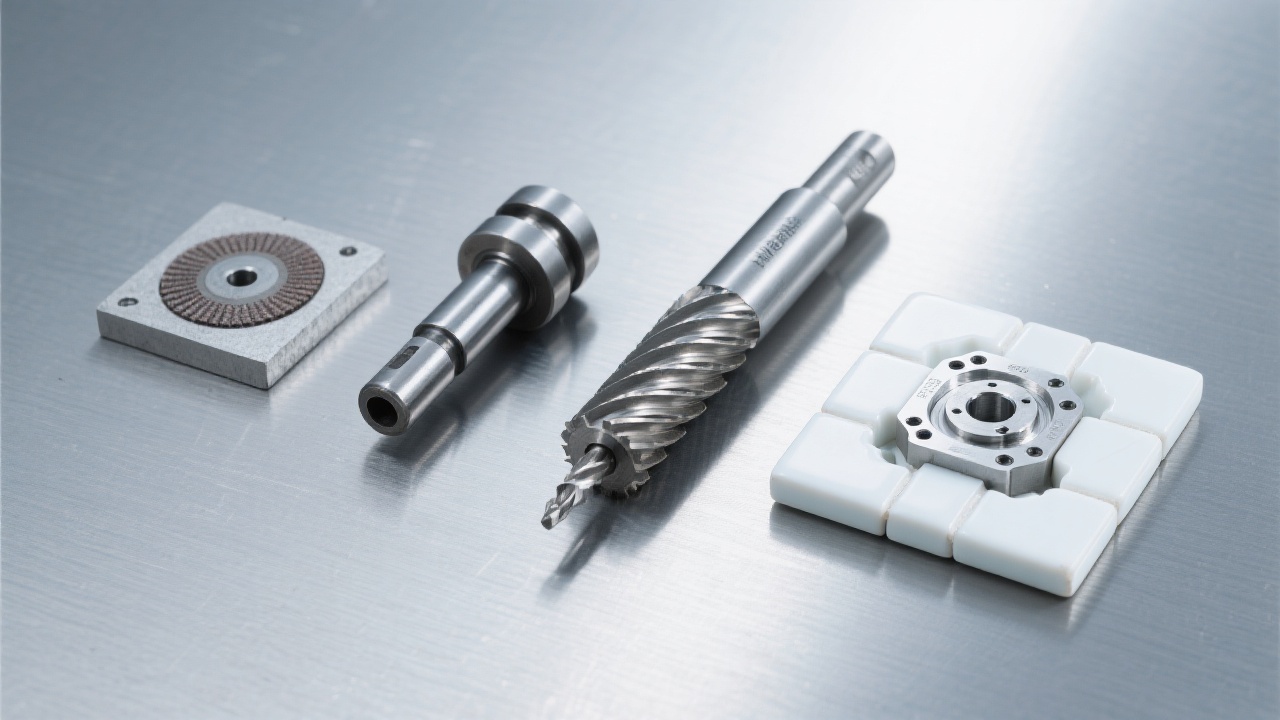
A brazed diamond tool is a grinding/cutting tool where diamond grits are metallurgically bonded to a steel body (or other substrate) by a brazing alloy. Unlike resin-bond tools (where diamonds are held by polymer), brazed tools expose more diamond cutting edges and deliver higher initial sharpness and efficiency—especially on hard, abrasive stones.
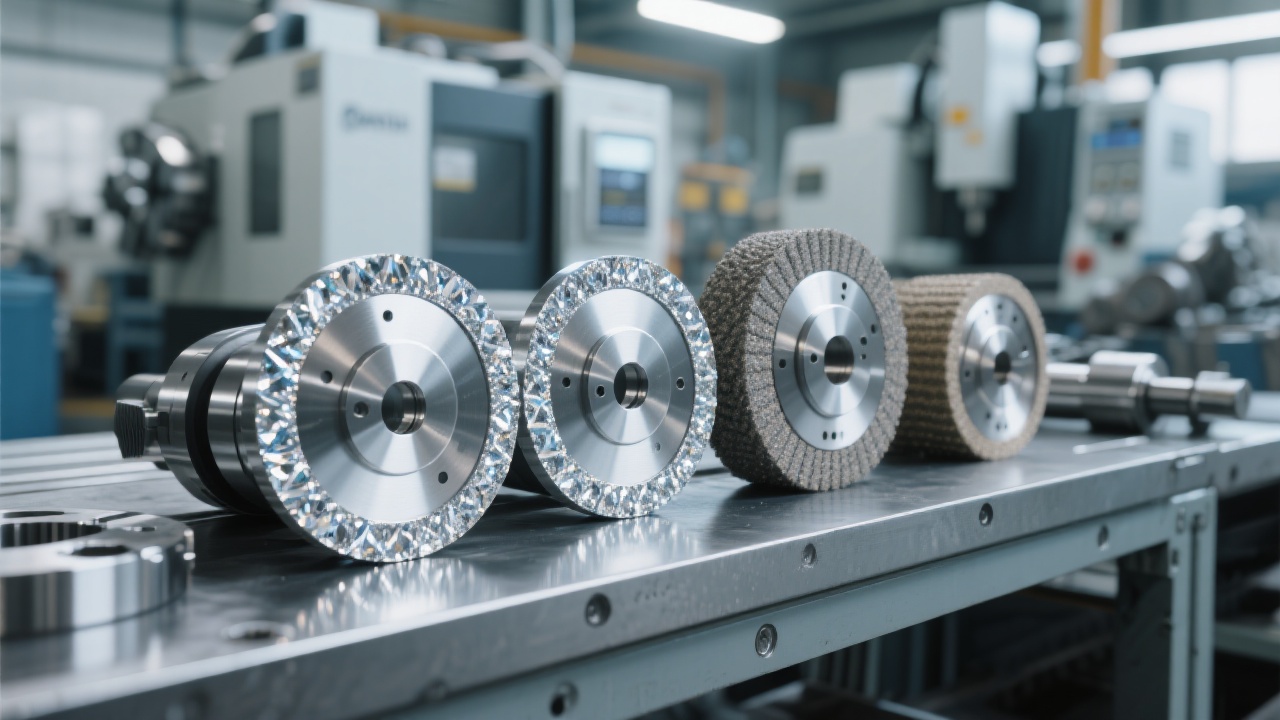
In stone grinding, brazed tools face intermittent shock, vibration, and heat. A well-executed brazing layer keeps diamonds anchored while transferring heat into the body. In practical shop terms, you’ll notice it as stable cutting sound, less glazing, and fewer “random” edge chippings on the slab. For dry use, the brazing and body design must shed heat faster—otherwise the tool may dull prematurely or suffer thermal damage at the working edge.
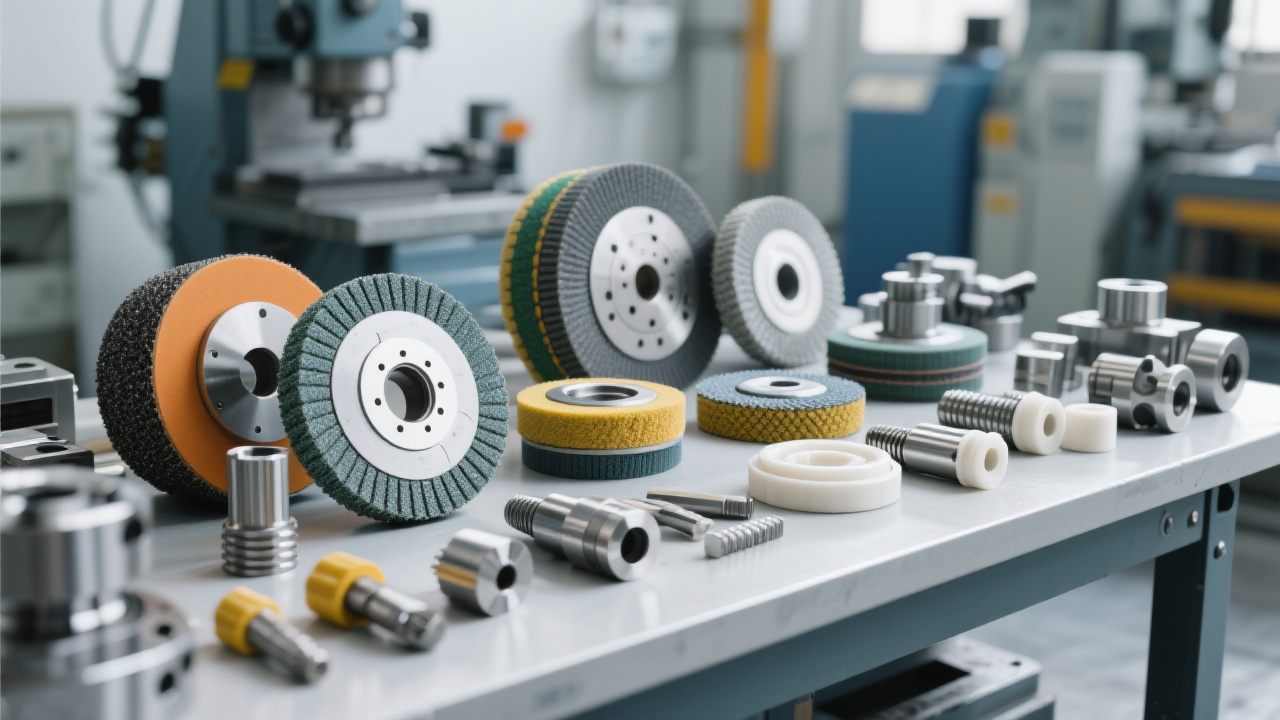
Think of grit distribution as how the tool “shares” the workload. A sparse pattern cuts aggressively but can leave deeper scratches; a denser pattern refines the scratch pattern but may increase friction if chips cannot clear. For stone processors, the goal is not “max diamond” but balanced exposure + chip space.
| Design factor | What you’ll see in production | Best fit |
|---|---|---|
| Coarser grit (e.g., 30/40–50/60) | Fast stock removal, louder cut, deeper scratches | Calibration, shaping, heavy defect removal |
| Medium grit (e.g., 60/80–80/100) | Balanced removal and surface quality | General grinding before polishing |
| Finer grit (e.g., 100/120–200) | Lower removal rate, cleaner scratch pattern | Pre-finish steps, tighter tolerance profiling |
| Higher grit density | Smoother cut but more heat if feed is too low | Marble, engineered stone, cosmetic surfaces |
Practical note: On manual grinders, operators often reduce feed when they want a better finish. With brazed tools, too-low feed can increase rubbing and heat, ironically worsening glazing. A small increase in feed with controlled RPM often improves both finish stability and tool life.
Granite typically contains hard minerals (often quartz-rich), making it both hard and abrasive. That combination rewards brazed tools with sharp diamond exposure, but it punishes poor heat control. For granite, tool selection should prioritize chip space, thermal stability, and impact resistance.
Marble is generally softer than granite and can smear under high friction. It also chips at edges if the tool is too aggressive or the operator loads the tool unevenly. In marble applications, the best match often means moderate aggressiveness and a more controlled scratch pattern.
If you see glazing / shiny tool face
If you see excessive chipping (edges)
Brazed diamond tools are often judged too quickly. In reality, a small shift in parameters can change the tool from “too aggressive” to “controlled and durable.” Below are field-friendly ranges used widely in stone shops; exact settings depend on machine stiffness, tool diameter, and desired finish.
| Parameter | Wet grinding reference | Dry grinding reference |
|---|---|---|
| Peripheral speed | 20–35 m/s | 15–25 m/s (prioritize heat control) |
| Feed rate (CNC edge/profile) | 200–800 mm/min | 150–500 mm/min |
| Single-pass depth | 0.2–1.0 mm (coarse), 0.1–0.3 mm (fine) | 0.1–0.6 mm (coarse), 0.05–0.2 mm (fine) |
| Cooling | Aim for continuous flow; keep slurry moving | Use dust extraction + intermittent contact to limit heat |
Step 1: Confirm stone type & hardness (granite/quartz-rich vs marble/calcite) → Step 2: Choose grit (coarse for stock removal, medium for stability, fine for pre-finish) → Step 3: Set speed band (start mid-range) → Step 4: Adjust feed before changing tools (avoid rubbing) → Step 5: Check chips/slurry evacuation & cooling → Step 6: Inspect scratch pattern and edge integrity; iterate one variable at a time
Brazed tools excel at efficient material removal and controlled shaping. They can support pre-finishing, but expecting polishing-level results from a coarse grit often leads to overheating and inconsistent scratches. Better approach: finish the shaping stage efficiently, then switch to appropriate fine grinding/polishing sequence.
Rubbing raises temperature, softens surface debris, and accelerates glazing. Many shops fix this by changing tools—when a better fix is to reduce RPM 10–20% and increase feed just enough to restore chip formation.
Dry use is possible, but it requires discipline: stable dust extraction, intermittent contact, and avoiding continuous dwell. A quick rule: if the stone surface becomes too hot to touch briefly, the cutting edge is running too hot as well.
In high-throughput stone processing, the “best” tool is the one that keeps removal rate stable while holding a predictable scratch pattern—batch after batch. UHD focuses on brazed tool designs that balance diamond exposure, chip evacuation, and thermal behavior, helping production teams reduce parameter sensitivity and keep operators within a safe, repeatable window.
Send your stone type (granite/marble), operation (profiling, shaping, surface correction), machine RPM range, and wet/dry preference. You’ll receive a practical recommendation you can run on the next job—without trial-and-error wasting slabs.
Request UHD Brazed Diamond Tool Selection SupportTypical inputs: stone name, hardness impression, target finish stage, tool diameter, spindle type, coolant condition.


.png?x-oss-process=image/resize,h_1000,m_lfit/format,webp)
.png?x-oss-process=image/resize,h_1000,m_lfit/format,webp)


